Waterproofing Before Tiling: What Homeowners Should Know

Walk into most bathrooms that have developed mould behind the tiles, loose grout, or damp patches on the ceiling below — and nine times out of ten, the waterproofing was either rushed or never done at all. It is the unglamorous part of a tiling job, hidden the moment the last tile goes up, but it is the part that determines whether everything holds together for twenty years or starts quietly failing within two.
Tiles Are Not Waterproof
Most homeowners assume otherwise, and it is an easy assumption to make. Ceramic and porcelain tiles do shed water from their surface. The problem is the grout between them. Grout is porous. It absorbs moisture, especially as it ages, develops hairline cracks, or gets regularly scrubbed with cleaning products. Grout is the path of least resistance for water.
The following moves are slow and invisible. This moisture remains behind the tile, undamaged by the substrate, for months and even years before showing up on the tile surface. When you can smell musty or see a soft spot on the wall, the damage underneath is already well established.
The tile is cosmetic. What lives beneath it is what actually keeps water out.
Where You Cannot Skip It
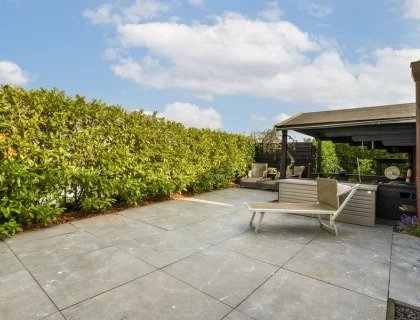
Shower walls and floors are being subjected to water most often — the water that is used every day over extended periods of time, more than any other part of the home. Next up, bathroom floors, which are susceptible to steam, splashing, and regular mopping over the years. Bath and basin surrounds are also important as they often sit against tiled walls where fittings connect, a spot that moves slightly every time someone gets in and out of the bath. Balconies and wet rooms complete the list.
Simple test: If the surface is likely to be wet frequently, it should be waterproofed before the tiles are installed.
Choosing the Right Membrane
Liquid-applied membranes are what most homeowners end up using, and for good reason — they are applied with a brush or roller, they cure to a seamless, flexible layer with no joints, and brands like Mapelastic AquaDefense and BAL Waterproof 1C are available from most tile suppliers. They suit the majority of domestic bathroom and shower projects.
Sheet membranes — Schluter KERDI and Wedi being the most well-known — are pre-formed sheets bonded with thin-set mortar. Tilers who work to a high standard often prefer them for the consistency they provide.
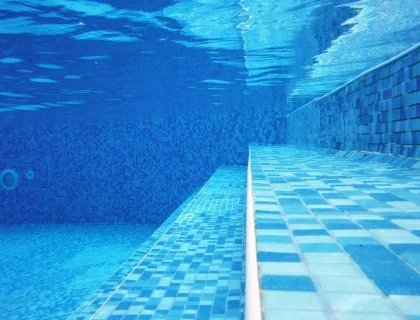
Cementitious tanking products are two-part slurry systems, tougher and more involved to apply, and generally reserved for wet rooms, steam rooms, and pools where the water exposure is relentless.
For a typical bathroom renovation, a liquid membrane applied correctly will do the job well.
Preparation Is Where It Goes Wrong
The membrane is only ever as good as what is underneath it. The surface needs to be clean, fully dry, structurally stable, and free from anything loose — old adhesive residue, dust, grease, paint flakes. Cracks need filling, and those repairs need time to cure before waterproofing starts.
Standard plasterboard behind tiles in wet areas is a genuine problem. It was never designed for sustained moisture exposure, and it will eventually swell, soften, and fail. The correct replacement is cement-based tile backer board — taped at every joint with alkali-resistant fibreglass mesh, joints bedded in thin-set, and left to dry completely before any membrane goes on.
On the floors, the movement test. A substrate that flexes once the tiles are down will crack grout and break adhesion bonds regardless of what membrane sits between them.
Getting the Application Right
Start at the corners and transitions, not the flat surfaces. Floor-to-wall junctions, internal corners, and anywhere a pipe comes through are where failures begin — they experience slight movement that flat surfaces do not. Waterproofing tape or pre-formed corners at every one of these points before the main coats go on.
Two coats of membrane, applied in opposite directions. The cross-coating is deliberate — it catches any thin areas the first coat left behind and builds an even, consistent thickness across the whole surface.
Then wait. “Surface-dry” does not mean “cured”. For most liquid membranes, a complete 24 hours is required before the tile adhesive is applied. Rushing this traps solvents in the membrane, weakens the bond, and creates a problem that will not show itself until a year or two down the line.
What Actually Causes Failures
Corners and transitions left untreated. Water-resistant backer board is used instead of waterproof — they are not interchangeable. Fixings were driven through the membrane after it was applied. A shower floor with no slope toward the drain, leaving water pooling in the mortar bed indefinitely. And tiling the same day, the membrane was brushed on.
Before You Book Anyone
Waterproofing costs relatively little within the overall budget of a tiling job. What it prevents can cost considerably more. While employing a tile expert in Switzerland, ask them directly what membrane they are using, how many coats they are applying, and the time they are taking before tiling the membrane. These are all simple questions, and their answer will tell you more about what you'll be getting into.
Recent Posts
-
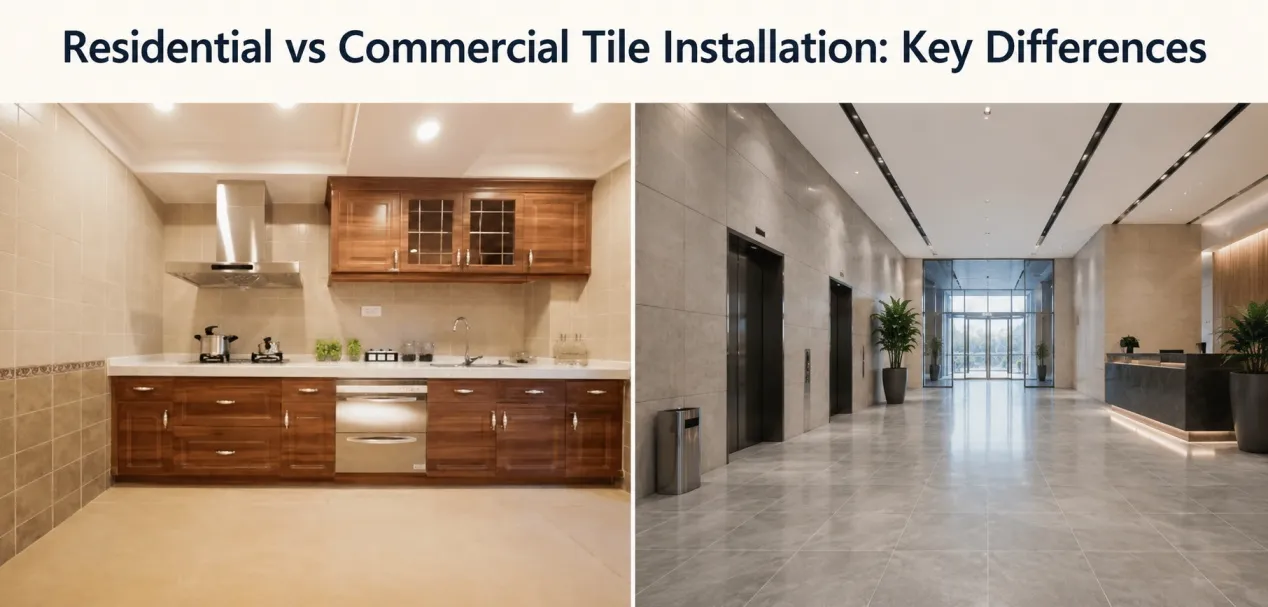
Residential vs Commercial Tile Installation: Key Differences
May 26, 2026 -

Tile Installation Services in Zurich: What Sets Plattenleger Pro Apart
May 20, 2026 -
Tile Maintenance Tips: How to Keep Tiles Looking New for Years
Apr 14, 2026 -
Grout Types Explained: Sanded, Unsanded, and Epoxy
Apr 06, 2026 -
Large-Format Tile Installation: Pros, Cons and Expert Tips
Mar 09, 2026