What to Expect During a Professional Tile Installation Process
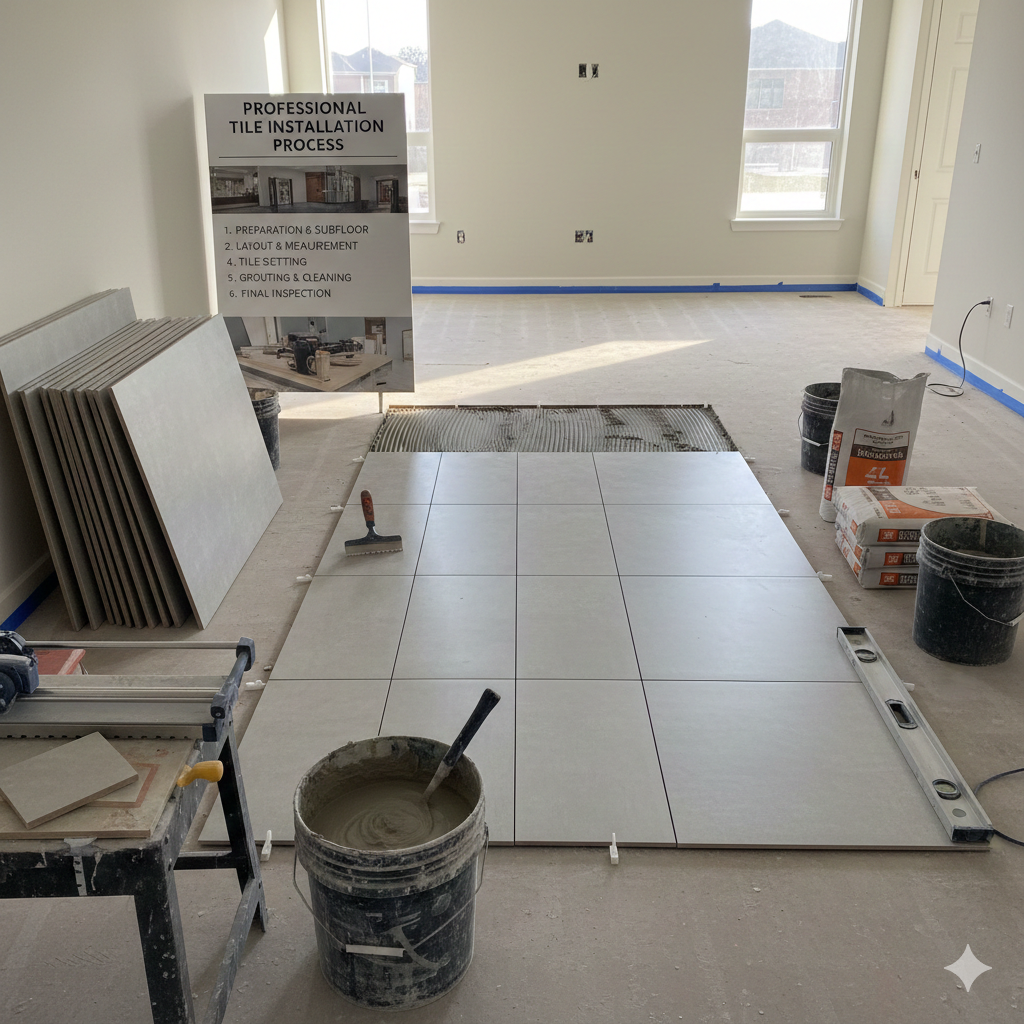
One of the ideal methods of having your floors or walls look perfect and have a long life is employing the services of a professional tile installer. In case this is the first time that you have experienced the process, then knowing what to expect will enable you to plan better, avoid unexpected changes and be confident in the investment. It is a step-by-step explanation of the way a professional installation of tiles is normally undertaken.
1. Initial Consultation & Site Assessment
Professional tile installers start with a field survey. The installer assesses the site, takes measurements, examines the condition of the subfloor or wall and consults with you on your tile selection, layout, grout selections, and schedule. This is a measure to detect possible challenges like surfaces that are uneven, wetness or repairs needed.
2. Surface Preparation (One of the Most Important Steps)
The surface has to be prepared before laying any tile. This may include:
- Taking up ancient floor or tiles.
- Correcting cracks or irregularities.
- Installation of backer boards or waterproof membranes (and this is particularly so in the case of bathrooms and kitchens).
Correct preparation makes sure that tiles stick in the right place and avoids the occurrence of complications such as cracking or lifting in the future.
3. Layout Planning & Dry Fitting
The layout of the tiles is also well considered to create symmetrical and clean lines. In many cases, dry-laying is used without the adhesive to represent the space between the tiles, cuts and positioning. This will reduce the clumsy cuts and will make the result balanced and professional.
4. Tile Cutting & Installation
After the layout is accepted, professional tools are used to cut the tiles to be precise. Adhesive or mortar is applied in an even manner, and the tiles are laid with spacers to ensure that the grout lines are uniform. Installers check alignment and level constantly during their work.
5. Grouting & Cleaning
Once the tiles have been laid down, grout is used to provide jointing and hold the tile installation together. The surplus of grout is removed, and the surface is polished to show the completed appearance. Depending on the type of tile and grout, sealants can be used.
6. Final Inspection & Aftercare Guidance
The tile installer checks the work, deals with touch-ups and gives the care instructions. You will also be informed about the time of day when it is safe to walk on the floors or to use the tiled area.
7. Timeline Expectations & Project Duration
The time span of the project will be explained well by a professional tile installer. Timelines are based upon tile type, condition of the surface, room area and design. Depending on the size of the room and the type of project, small rooms can be completed within 1-2 days and larger or custom projects can require more time. This information will go a long way in planning daily routines.
8. Noise, Dust & Site Management
The process of tile installation includes the cutting, mixing of mortar and preparation of surfaces, which may be noisy and dusty. Some of the precautions that the professionals observe include the use of dust-control instruments, the covering of surrounding areas, and cleaning on a daily basis to ensure that the disruption is minimal.
9. Expansion Joints & Movement Allowances
With experienced installers, floors and walls move naturally and, therefore, expansion joints are incorporated where necessary. This avoids cracking of tiles as a result of temperature fluctuations or structural shifts, which is a very important aspect that should not be overlooked.
10. Sealing & Protection (When Required)
Some grouts and tiles should be sealed in order to prevent staining and moisture. Experts understand where sealants are needed, and they do it right, which extends the life and look of your tiled floor.
11. Warranty & Workmanship Assurance
An artistry warranty is given by the majority of professional tile installers. This provides the homeowner with a sense of security, that any problems involved in the installation will be resolved, which indicates that the quality of work done is good.
12. Tile Selection Guidance from Professionals
Professional installers usually assist the homeowners in selecting the right tile to be used in every area. They look at such aspects as the number of people that pass by it, being moist or dry, resistant to slips, and maintenance requirements, so that you have a beautiful and functional tile selection.
13. Subfloor Compatibility & Structural Checks
Installers also look into the capacity of your subfloor to carry the tile of your choice, particularly heavier materials such as stone or large tiles. Early consideration of structural considerations helps avoid structural problems in the long run, like tiles moving or cracks.
14. Edge Finishing & Transition Details
Finishing touches, like edge trims, thresholds, and room-to-room or flooring transitions, are also paid attention to by professionals. These facts enhance security, stability, and the general refined look of the installation.
15. Post-Installation Cleanup & Walkthrough
When it is complete, the area is clean, and a walkthrough is given to you by the installers of the work. They also clarify how to care, how to cure and how to maintain, and you are certain of how to preserve your new tile venture.
Final Thoughts
Installation of tile is a laborious, systematic task that is concerned with the actuality, accuracy and beauty. Knowing the steps will assist you in valuing the artistry in it and also guarantee you are well prepared to have a smooth, stress-free experience of beautiful, long-lasting results.
Recent Posts
-

Modern Tile Trends in 2026 for Homes and Commercial Spaces
Jun 24, 2026 -

Residential vs Commercial Tile Installation: Key Differences
May 26, 2026 -

Tile Installation Services in Zurich: What Sets Plattenleger Pro Apart
May 20, 2026 -

Waterproofing Before Tiling: What Homeowners Should Know
May 06, 2026 -

Tile Maintenance Tips: How to Keep Tiles Looking New for Years
Apr 14, 2026