Common Tile Installation Mistakes and How Professionals Avoid Them

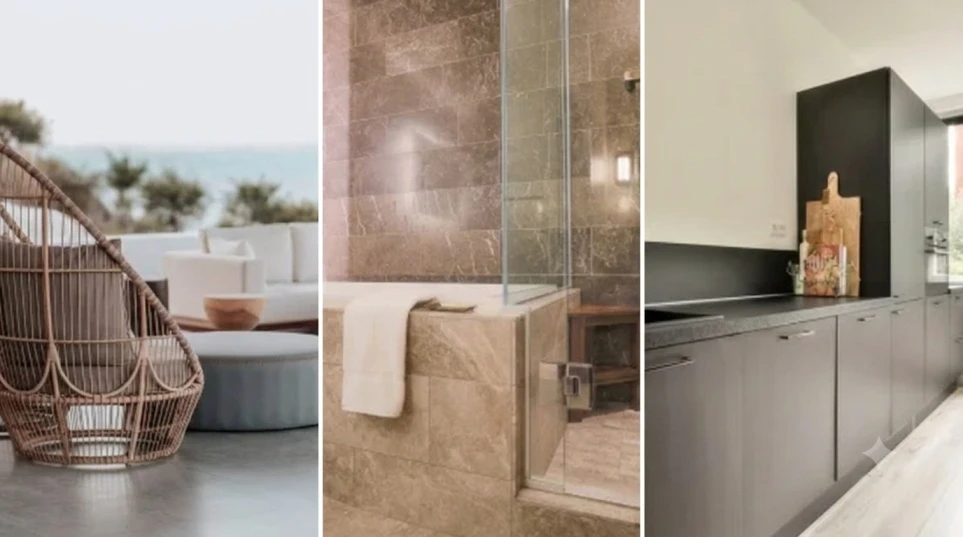
Installing tile can be easy to install, but one has to plan, measure and understand building materials to get the perfect finish. From kitchens and bathrooms to outdoor patios and commercial spaces, tile work plays a major role in both aesthetics and functionality. However, DIY tile projects often go off track due to avoidable errors. The distinction between a broken and rough floor and a high-strength and smooth tiling surface often depends on professional skills and detailing.
Below are some of the most typical tile installation errors- and how experienced people prevent them to achieve long-term and good quality outcomes.
1. Poor Surface Preparation
Among the most serious errors in tile installation is the negligence of the proper surface preparation, even before the first tile is laid.
Typical Issues Include:
- Uneven substrates.
- Residual debris and dust.
- Moisture problems.
- Surface of the base, which is cracked or weak.
- Inadequate priming.
Subfloor or wall surface preparation may not be adequate, causing tile lippage (uneven heights), hollows, cracking, or loose tiles in a matter of months.
How Professionals Avoid It
Experienced installers:
- Level and reinforce substrates
- Repair cracks and moisture issues
- Membranes or primers should be used when necessary.
- Make sure that surfaces are clean, dry and stable.
Correct preparation leads to the bonding of tiles and keeps them stable in the long run.
2. Incorrect Tile Layout and Planning
Installation is usually rushed without a layout plan, which results in clumsy cuts, rows of grout and substandard visual balance, particularly in the kitchen, bathrooms and patio tile installation.
Common DIY Mistakes
- Centering incorrectly.
- Overlooking focal points (doors, corners, drains).
- The mismatch in the patterns or the direction of grains.
- The ceramic is too small on the edge.
How Professionals Avoid It
Experts always:
- Visualization tiles- dried.
- Create a point of origin based on the geometry of the room.
- Take into account symmetry, walk paths and focal views.
- Use layout tools to maintain alignment.
A good layout enhances both functionality and design proportions.
3. Using the Wrong Adhesive or Mortar
The tile adhesives are of different materials (ceramic, porcelain, natural stone) and types. Using the inappropriate one may result in bad bonding, discoloration or tile failure.
DIY Errors Include:
- Selection of a porcelain adhesive of low grade.
- Using mastic in wet areas.
- The use of a sluggish mortar in large tiles.
Professional Approach
The professionals will match adhesives to:
- Tile type.
- Tile size.
- Application area (wet/dry).
- Climate and humidity.
- Tendencies of substrate movement.
This guarantees the appropriate curing time and its permanence.
4. Incorrect Trowel Size and Technique
The effect of Tile adhesion greatly relies on trowel selection and application.
If Done Incorrectly
- Uneven coverage.
- Hollow spots.
- Delamination.
- Tile breakage under load.
How Pros Handle It
Experts:
- Use the correct trowel notch size for tile dimensions.
- Apply consistent ridges.
- Complete contact tiles, Back-butter large-format tiles.
- Percentage of check coverage (as indicated by industry requirements).
Complete coverage avoids penetration and cracking of moisture.
5. Not Using Leveling Systems for Large-Format Tiles
Big porcelain tiles and planks are in demand- but not easy to lay evenly- especially by amateurs.
Without Leveling Systems
Tiles may:
- Warp.
- “Teeter” at edges.
- Create dangerous lips.
- Congeal dirtiness and dissolute beauty.
Professional Technique
Experienced installers use:
- Leveling clips and wedges.
- Spacers.
- Straightedges.
- Laser levels.
This makes surfaces flat and parallel to the tile installation.
6. Inadequate Grouting Practices
Grout is very critical in durability, water resistance and appearance.
Common Problems
- Grout haze is a result of not properly cleaning.
- Pain due to a lack of enough joint fill.
- Staining from incorrect sealing.
- Color mismatch or uneven tones.
Pro Solutions
Professionals:
- Select proper grout type (cement, epoxy, urethane).
- Pack joints correctly.
- Seal grout when necessary.
- Clean the haze before curing.
They also take into consideration joint width and movement, which enhances lifespan.
7. Ignoring Expansion and Movement Joints
The surface of tiles extends and contracts with the temperature and humidity. Lack of addition of the joints of movement will lead to tenting, cracking and separation. Especially take care in the case of bathroom tile installation.
DIY Oversight
- Tiling tight against walls.
- Skipping perimeter gaps.
- No joints of movements in big rooms.
Professional Standard
Installers:
- Add perimeter gaps.
- Have rubber silicone joints in the critical areas.
- Compliance with TCNA standards and EU standards on tile spans.
Movement joints cushion the whole tile installation.
8. Poor Waterproofing in Wet Areas
Waterproofing of toilets, showers, laundry rooms and balconies should be done before tiling.
Common Failures
- Applying tile as a waterproof only (tiles are not waterproof).
- Inappropriate usage of the membrane.
- Leaving openings where penetrations occur and corners.
Pro Waterproofing
Professionals apply:
- Liquid membranes.
- Sheet membranes.
- Pre-sloped pans.
- Proper drains & sealants.
It is necessary to waterproof to avoid concealed molds and construction damage.
9. Inconsistent Finishing & Cleanup
Any remaining haze, silicone streaks or unfinished joints will soon spoil a beautiful tile installation.
DIY Issues
- Haze left to dry.
- No sealing.
- Rough or mismatched caulking.
Pro Finishing
Experts:
- Tiles are being laid clean.
- Materials for the seal were needed.
- Check before handover- alignment of joints.
Final Takeaway: Why Professional Tile Installation Matters
Vinyl can be tough, and yet it is technical to lay, and once the tiles are installed, fixing a mistake is expensive. Professional tile installers like Plattenleger PRO bring:
- Knowledge of materials.
- Industry standards.
- Specialized tools.
- Waterproofing expertise.
- Precision layouts.
- Warranty-backed artistry.
For homeowners and designers who invest in high-quality tiles, finishes, and wet-area installation, getting professionals with the required qualifications would guarantee functionality and longevity without the need to spend a lot of money on repairing them later.
Recent Posts
-
Modern Tile Trends in 2026 for Homes and Commercial Spaces
Jun 24, 2026 -

Residential vs Commercial Tile Installation: Key Differences
May 26, 2026 -

Tile Installation Services in Zurich: What Sets Plattenleger Pro Apart
May 20, 2026 -

Waterproofing Before Tiling: What Homeowners Should Know
May 06, 2026 -
Tile Maintenance Tips: How to Keep Tiles Looking New for Years
Apr 14, 2026